Automating ReadCube Papers with AppleScript
Learn how to use Readcube Papers more efficiently by automating common interface interactions with AppleScript on macOS.

Background
I recently published an article detailing some AppleScripts that I use for Zotero , and I thought it would be useful to show additional scripts that I used for ReadCube Papers. ReadCube Papers is a bibliographic software package for Mac and Windows users. It has excellent support for looking up metadata for papers and finding related papers similar to others in your library. The annotation tools are also ideal, as you can make notes and highlights in PDF documents and see a complete list in a sidebar; clicking any item in the sidebar takes you directly to the corresponding annotation in the PDF.
While this app has many great features for researchers, it is developed in electron and is missing some usability experience of an app developed in the operating system's native language. Being an electron app also means that you typically interact with the application by clicking a mouse rather than keyboard shortcuts widely supported in native apps.
Because I find reaching for the mouse frustrating, I made some AppleScripts that automate the pointing and clicking required for interacting with electron applications. These scripts require a third-party application like FastScripts or Keyboard Maestro to work because they allow you to assign a keyboard shortcut to each script. Most of these scripts require a third-party tool called cliclick, which provides a means to automate mouse clicking and dragging, as AppleScript has poor native support for mouse automation.
There are five actions in ReadCube Papers where I've found a keyboard shortcut useful:
- Switching to the info tab
- Switching to the edit tab
- Toggling the preview pane
- Saving changes to metadata edits
- Hiding the application
Below, I will describe how to automate each action. I will use FastScripts in these examples, but Keyboard Maestro works just as well. I'll also assume that you have installed cliclick. An easy way to install cliclick is with homebrew. Once homebrew is installed, you can type brew install cliclick in the Terminal application to install cliclick.
Switching to the info tab
Unfortunately, switching among the different tabs of the right-hand sidebar requires clicking the icons in the top left because there are no built-in keyboard shortcuts for these actions. I would rather be able to type command-1 though command-5 (⌘1 through ⌘5) to switch among them. The info and edit tabs are the most frequently used, so I will automate those.
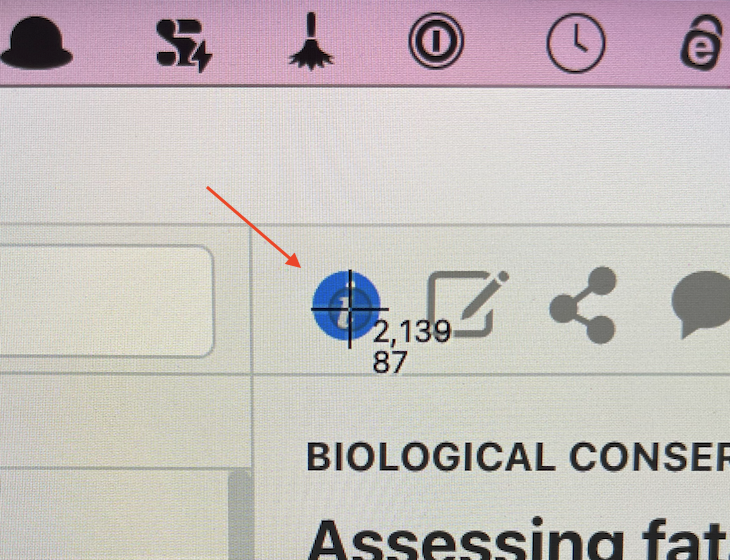
- The first step is to determine the screen coordinates for the icons in the sidebar. Because these coordinates will change depending on the size and position of the window, I recommend maximizing the window on the screen before determining the coordinates. This means you will need to use Papers with the window maximized for the scripts to work.
- Press
⇧⌘4to reveal the cross showing the screen coordinates, and hover over the info icon. - Note the screen coordinates. In my example, the coordinates were 2139 and 87.
- Press
Escapeto cancel the screenshot mode.
Next open Utilities > Script Editor and create a new empty script document. Paste the following code into the script editor window.
use AppleScript version "2.4" -- Yosemite (10.10) or later
use scripting additions

set papersID to id of application "Papers.app"

tell application id papersID
	activate
	delay 0.2
end tell

set screenX to 2139
set screenY to 87

-- Uses the -r argument to restore original mouse location
do shell script "/usr/local/bin/cliclick -r c:" & screenX & "," & screenY
In the code above, change the 2139 and 87 to the coordinates of the info icon on your screen that you determined from the previous step.
Save the script to ~/Library/Scripts/Applications/Papers. You may need to create this folder path.
Next, assign a keyboard shortcut to the script using FastScripts by selecting the script using the FastScripts toolbar icon while holding the ⌘ key. A window will open where you can assign the shortcut. I used ⌘1 as my shortcut.
Next, test the shortcut to make sure it works. In Papers, switch to another pane beside info, then press ⌘1. If everything works correctly, the script will execute, and the info tab will become visible.
Switching to the edit tab
The following several scripts will follow the same format as the first one. Press ⇧⌘4 to reveal the cross showing the screen coordinates, and hover over the edit icon. Note the screen coordinates. Use the same code provided above for switching to the info tab, then change the 2139 and 87 numbers in the code to your new screen coordinates. Name the script appropriately and save it here ~/Library/Scripts/Applications/Papers. Assign a keyboard shortcut using FastScripts or Keyboard Maestro. I used ⌘2.
Toggling the preview pane
Toggling the preview pane on and off is ripe for a keyboard shortcut, given how often I use this feature. It’s often more convenient to open the preview pane than to open the reference in a separate tab. You'll need to get the "eye icon" coordinates in the lower right portion of the Papers window.
Once you have the coordinates, use the code from the first script and change the 2139 and 87 to the appropriate coordinates (2043 and 1422 in my example). Name and save the script appropriately in the ~/Library/Scripts/Applications/Papers. I used a shortcut of ⌘P for "preview." This does not conflict with the standard print shortcut, since you can't print from the Papers app.
Saving changes to metadata edits
In addition to toggling view modes, I found automating save button clicking useful after editing metadata. Again, I had to get the coordinates of the save button while viewing the edit pane in the sidebar. Modify the script code from above, name the script, and save it to the ~/Library/Scripts/Applications/Papers folder. I used ⌘Return for this shortcut, as this felt like a natural shortcut for saving metadata changes.
Hiding the application
This last script doesn't involve clicking screen coordinates and thus is much simpler. For most Mac applications, the shortcut ⌘H hides the current application. Unfortunately, because Papers has little support for keyboard shortcuts, this is not possible using the Papers app alone.
Fortunately, you can tell System Events to hide the application for you and then assign a keyboard shortcut to this action. Using the process described previously, paste the following code into a blank Script Editor document and save it in ~/Library/Scripts/Applications/Papers.
use AppleScript version "2.4" -- Yosemite (10.10) or later
use scripting additions

tell application "System Events"
	set visible of application process "Papers" to false
end tell
Because Papers doesn't have standard keyboard shortcuts, I assigned ⌘H to this script, giving this shortcut the same functionality as other applications. This provides consistency and allows my muscle memory to function naturally while using Papers on my Mac.
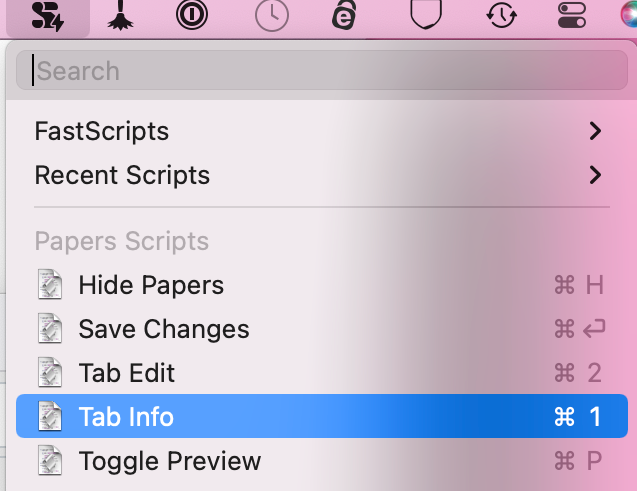
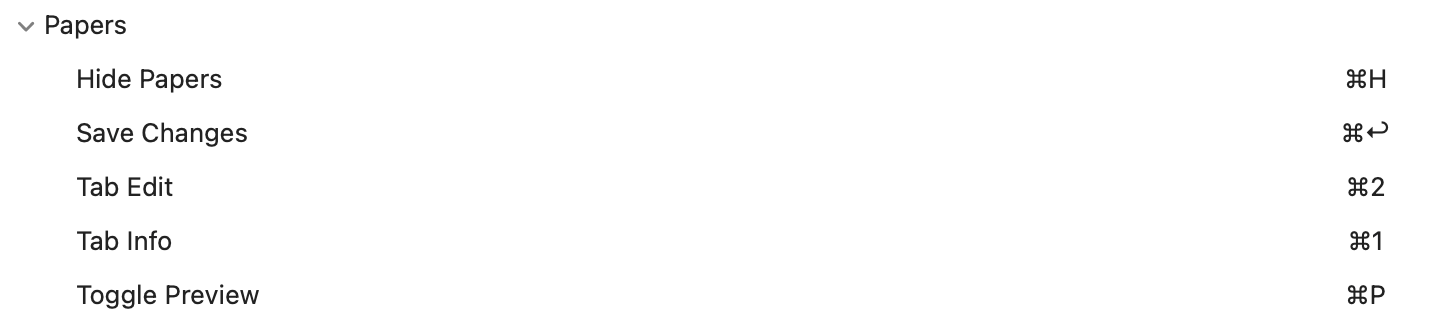
Finishing up
Once you've set up all these scripts and shortcuts and saved them in ~/Library/Scripts/Applications/Papers, you should see them in the FastScripts menu when Papers is the frontmost application. Because the scripts are saved specifically in a Papers folder, they will not trigger accidentally when using other applications.